
Honeycomb Integration Guide
Honeycomb.io is an error tracking and anaylsis tool of user usage in production environment. It allows organizations to go through large datasets of user activity and interaction experience of their platform, and identify errors and patterns for continuous improvement. TaskCall's Honeycomb integration increases the visibility of alerts triggered from Honeycomb through effective on-call assignment and automation enabled response so organizations can address and resolve incidents before they trickle down to users.
Pointers
- The integration is between a TaskCall service and Honeycomb.
- This integration only receives alerts in TaskCall from Honeycomb.
- TaskCall will automatically identify alerts that are the same and group them together into one incident.
- Incidents will automatically resolve when the metrics come back within threshold on Honeycomb.
In TaskCall
- Go to Configurations > Services . Select the service you want to integrate with.
- Once you are on the Service details page, go to the Integrations tab. Click on New Integration.
- Give the integration a name.
- From the integration types, select the top radio button indicating that you are trying to use a built-in integration.
- From the list of built-in integrations, select Honeycomb.
- Click Save.
- Copy the Integration URL that is issued for the integration.
In Honeycomb
- The integration requires a webhook to be set up from Honeycomb to TaskCall. To set it up, go to Account > Team settings > Integrations.
- On the page, scroll down to Trigger and SLO Recipients section. Click Add Integration.
- In the modal that opens up, select Webhook as the Provider. Give the webhook a name (for example, TaskCall). Paste the Integration URL you copied over from TaskCall in the Webhook URL field. Go back to your TaskCall account and find the integration you set up, copy the Integration Key (it is also the last part of the Integration URL) and paste it in the Shared Secret field.

- Click Add.
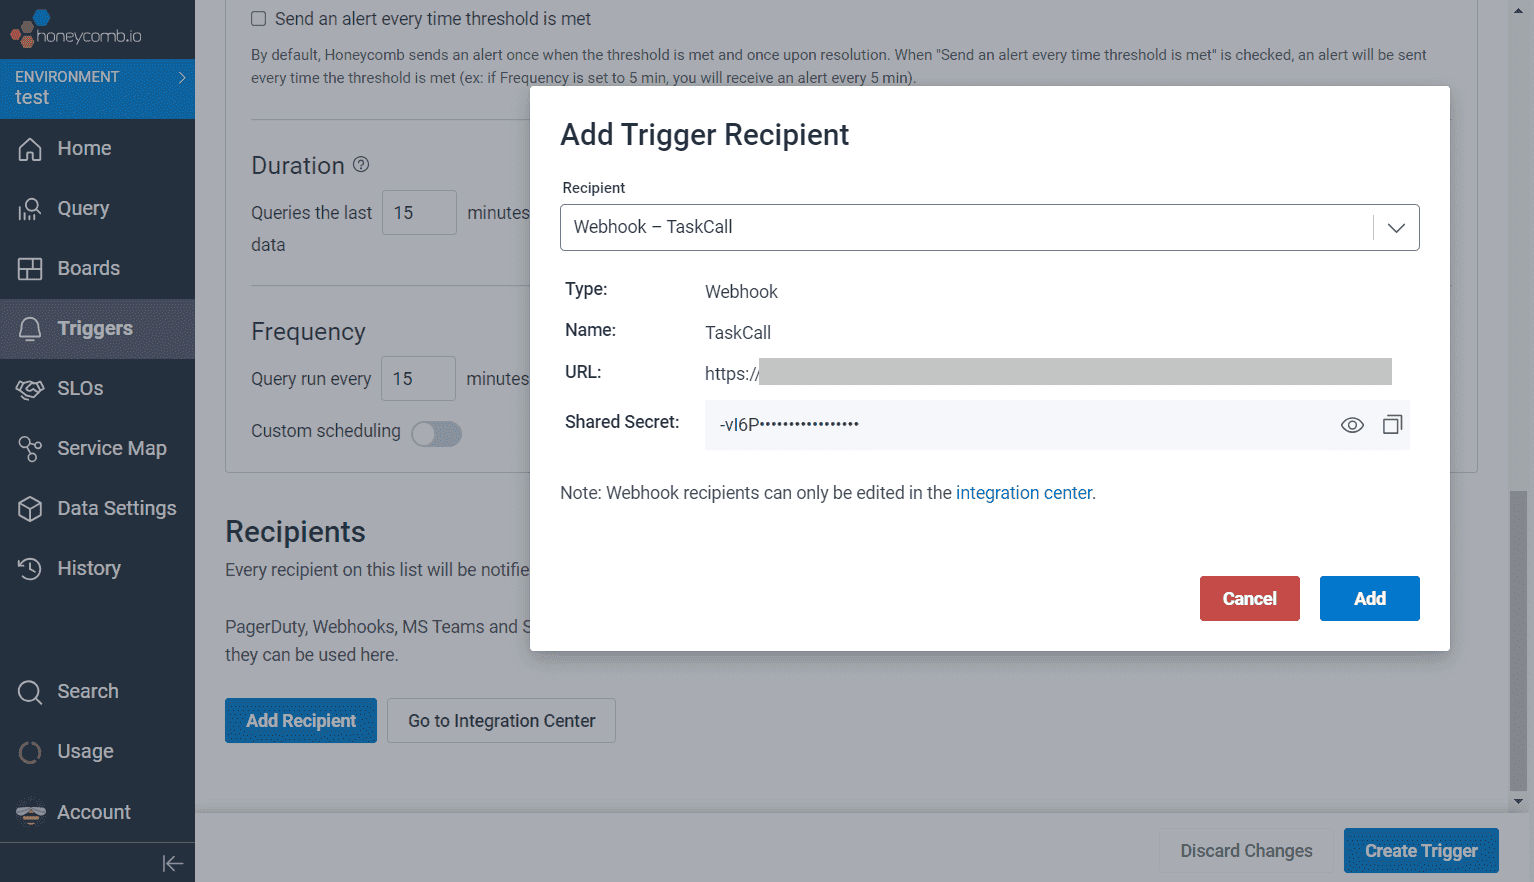
- The webhook is now ready. Just add it as a recipient in your Triggers.
That's it! Your alerts will now be sent to TaskCall so you can address major errors in-real time through the automation of on-call management and incident response mechanism.