Groups
Groups allow organizations to put their external people/stakeholders into a collection that represents them the best. Some external people who create incidents could be clients; some could be vendors or C-level executives. Groups allow them to be grouped together in the collection that best represents them. When incidents are created, they can be contextualized more with details of the group so the responder is better aware of the source of the incident and the priority to address it with.
Pricing Plans
Groups is only available in the Digital Operations pricing plan. For other paid plans, it can be added through the Advanced Live Call Routing Add-on.
Create Group
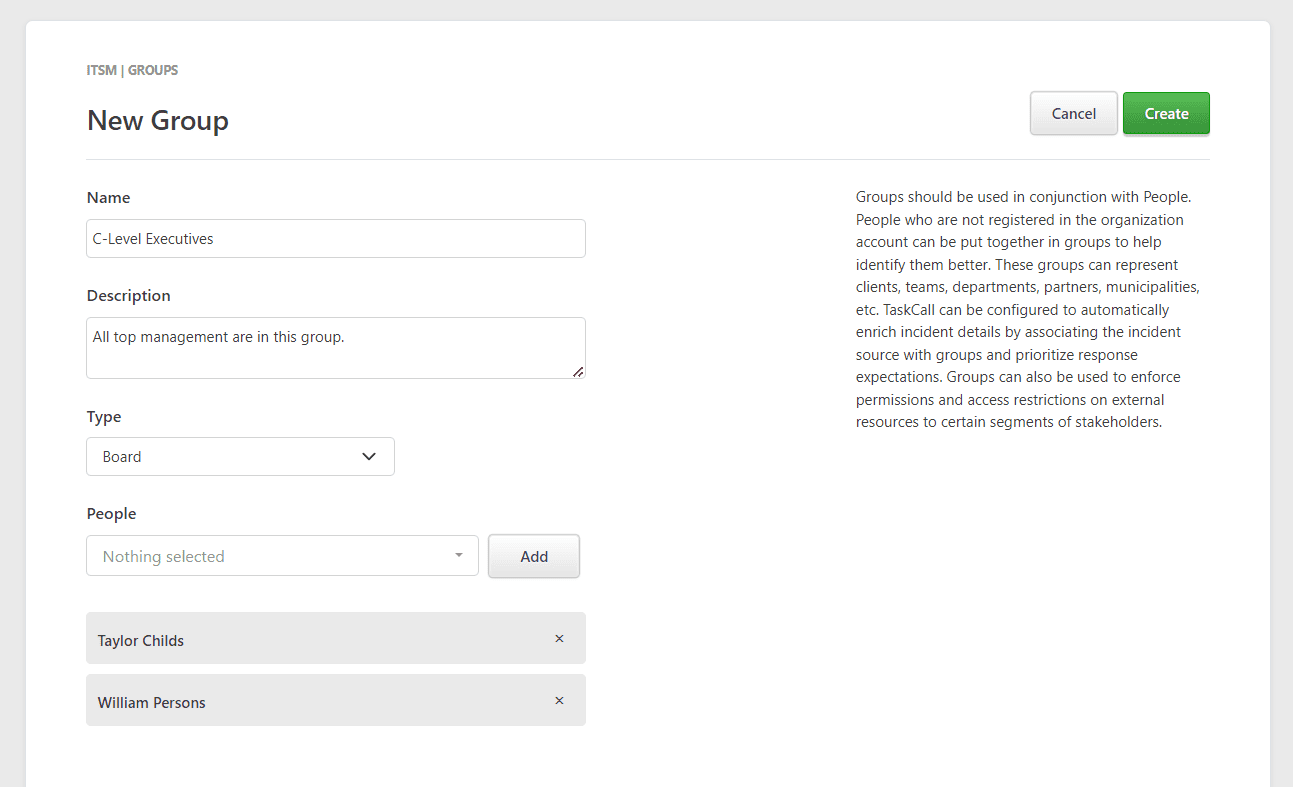
- Go to ITSM > Groups. Click New Group.
- Give the group a name and a description. Select the type of the group (client, vendor, etc.).
- Add the people who will belong to this group. You can choose to skip this and add the people later on.
- Click Create.
Add People
People can be added to the group at the time you create the group or afterwards. To add a new people to the group:
- Go to ITSM > Groups. Select the group you would like to add the new person to.
- Once you are in the group details page, click Add People. From the modal that opens up, select the people you would like to add to the group.
- Click Add.
From the group details page, people cannot be added to a group if they already belong to another group. They must be first removed from their current group before they can be added to the new group.
Give Ownership to a Team
Groups can be added as a component to a team to restrict access to certain people. Only team members with a Manager role (and account level Admins and Owner) will be able to make changes to the group. If the team is private, then only team members will be able to view the group and the people associated with it.