Service Maintenances
Often service may need to go through system checks, updates or other maintenances. They can obviously be disabled at the time the maintenance starts and be enabled back when the maintenance is over. However, it may help to plan ahead of time and keep others informed. Service maintenances allow you to do that precisely.
Set maintenance windows for the service ahead of time and provide the reason for the maintenance. This information will be displayed to users so they are not taken by surprise during planned disruptions.
Create Maintenance Window
- Go to Configurations > Services
- Click on the name of the service you want to create the maintenance for. This will take you to the Service Details page.
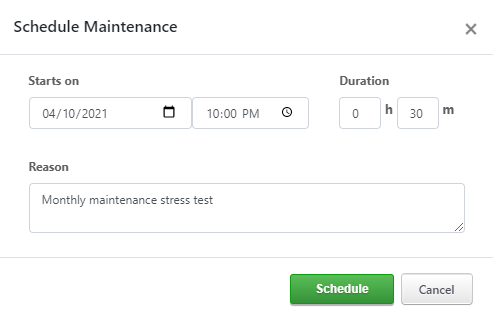
- On the right side panel click the "Schedule Maintenance" button. This will open a maintenance information modal.
- Provide the date and time the maintenance will start on and how long it will last.
- Provide a reason for the maintenance. It is readvisable to provide a clear explanation here so that users can understand why the service is being put on maintenance.
- Click Schedule.
Once you are done, you will see a maintenance window has been set up. It will be listed on the right side panel with any other maintenances you may have scheduled. You can also choose to remove the maintenance anytime by clicking the "Delete" button shown at the bottom of every maintenance window on the page.
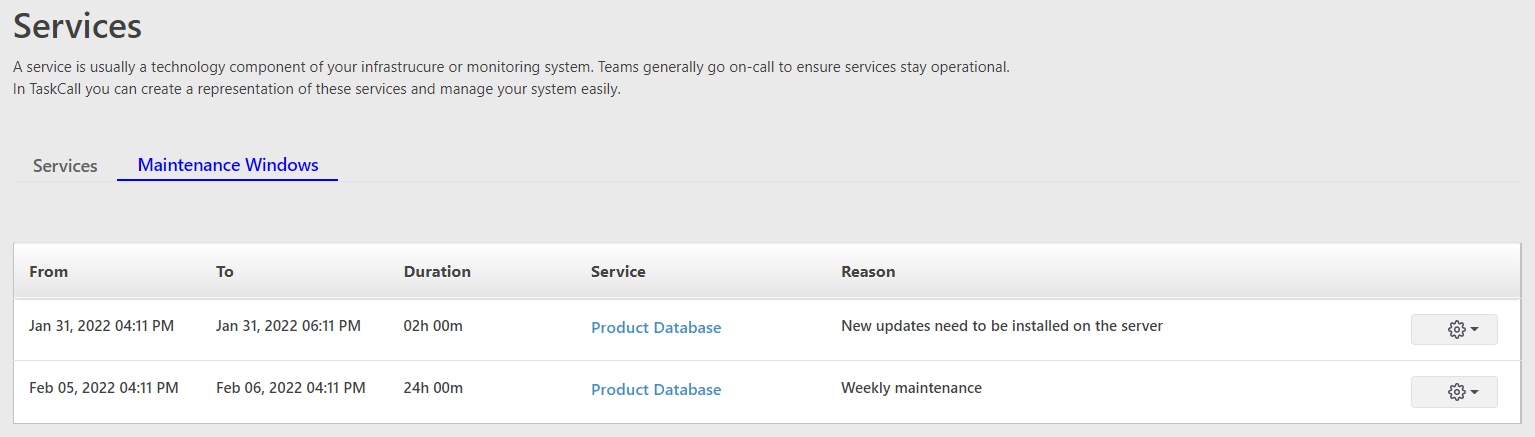
You can also see all the maintenance windows that have been scheduled across all services on the Services List page by clicking on the "Maintenance Windows" tab. And when the service will go into maintenance, its status will show as "Maintenance" on the Service Details page.