
Azure AD SSO Integration Guide
Azure AD (Azure Active Directory) makes it easy to manage user identity and access to applications. Without having to retain multiple credentials across a multitude of enterprise applications, it all can be accessed with a singular source of credentials. TaskCall integrates with Azure AD to allow users to log into TaskCall with the same credentials that they use for their cloud and on premise infrastructure.
Azure AD also provides multi factor authentication that can be utilized to secure your TaskCall account even more. The same login procedure can be used on both the TaskCall web and mobile applications.
Pointers
- TaskCall’s Azure AD SSO is based on the OIDC (OpenID Connect) protocol using OAuth 2.0.
- Users can sign into TaskCall with their Azure AD credentials.
- Users can be auto provisioned (auto registered) on TaskCall on their first sign in.
- Only the account Owner is able to configure SSO settings for the organization.
- SSO authentication can be enabled for only one identity provider at a time.
Configure Azure AD SSO
- Click on the dropdown mennu next to your profile picture on the top right corner of the navigation bar and select Organization. Only the Owner of the organization will be able to access the Organization page.
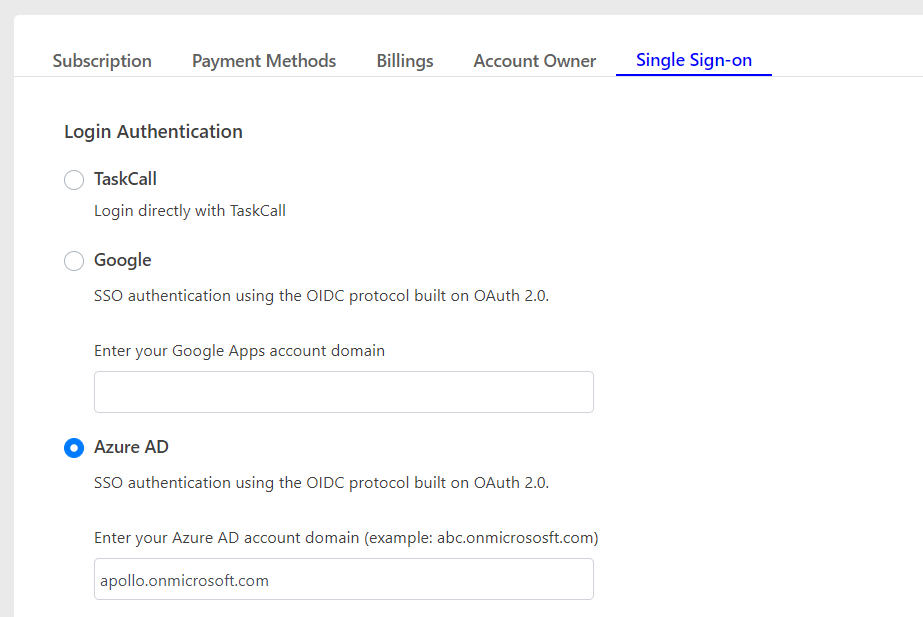
- Scroll down to the middle of the page and click on the Single Sign-On tab.
- Select the Azure AD radio button and enter your company's Azure AD domain. The full domain must be provided. For example, apollo.onmicrosoft.com.
- Scroll down to the Additional Settings section.
- If you want the users to be able to log into TaskCall using both their SSO credentials and TaskCall credentials, then select the Allow login with TaskCall credentials checkbox.
- If you want to allow users to be able to auto-register on first sign in using their SSO credentials, then select the Allow auto provisioning checkbox. Do understand that this will impact your monthly billing as billing is done based on the number of users you have on your account in a given month.
- If you choose to enable auto provisioning, you must also select the default role to assign to the user when they are registered. Of course, you will be able to edit the user role after the user is registered if you want to.
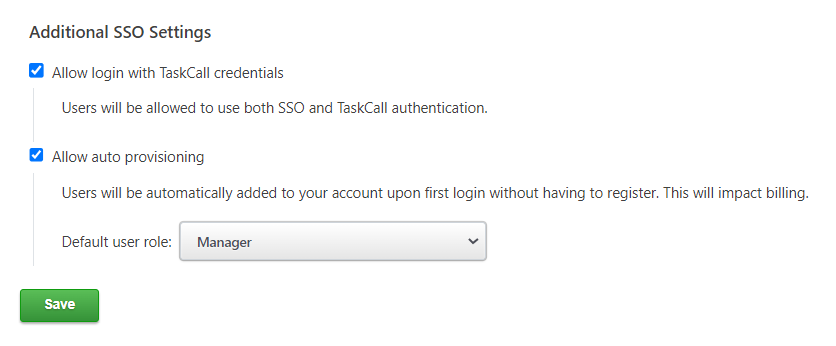
- Click Save once you are done and that’s it. You can now sign in using your Azure AD credentials.